Have you ever looked at your blooming garden and thought, What if these flowers could last forever? While fresh bouquets eventually fade, there’s a magical way to preserve their beauty-by turning them into handmade paper. This enchanting, eco-friendly craft doesn’t just upcycle your floral waste-it transforms it into something new, expressive, and completely personal.
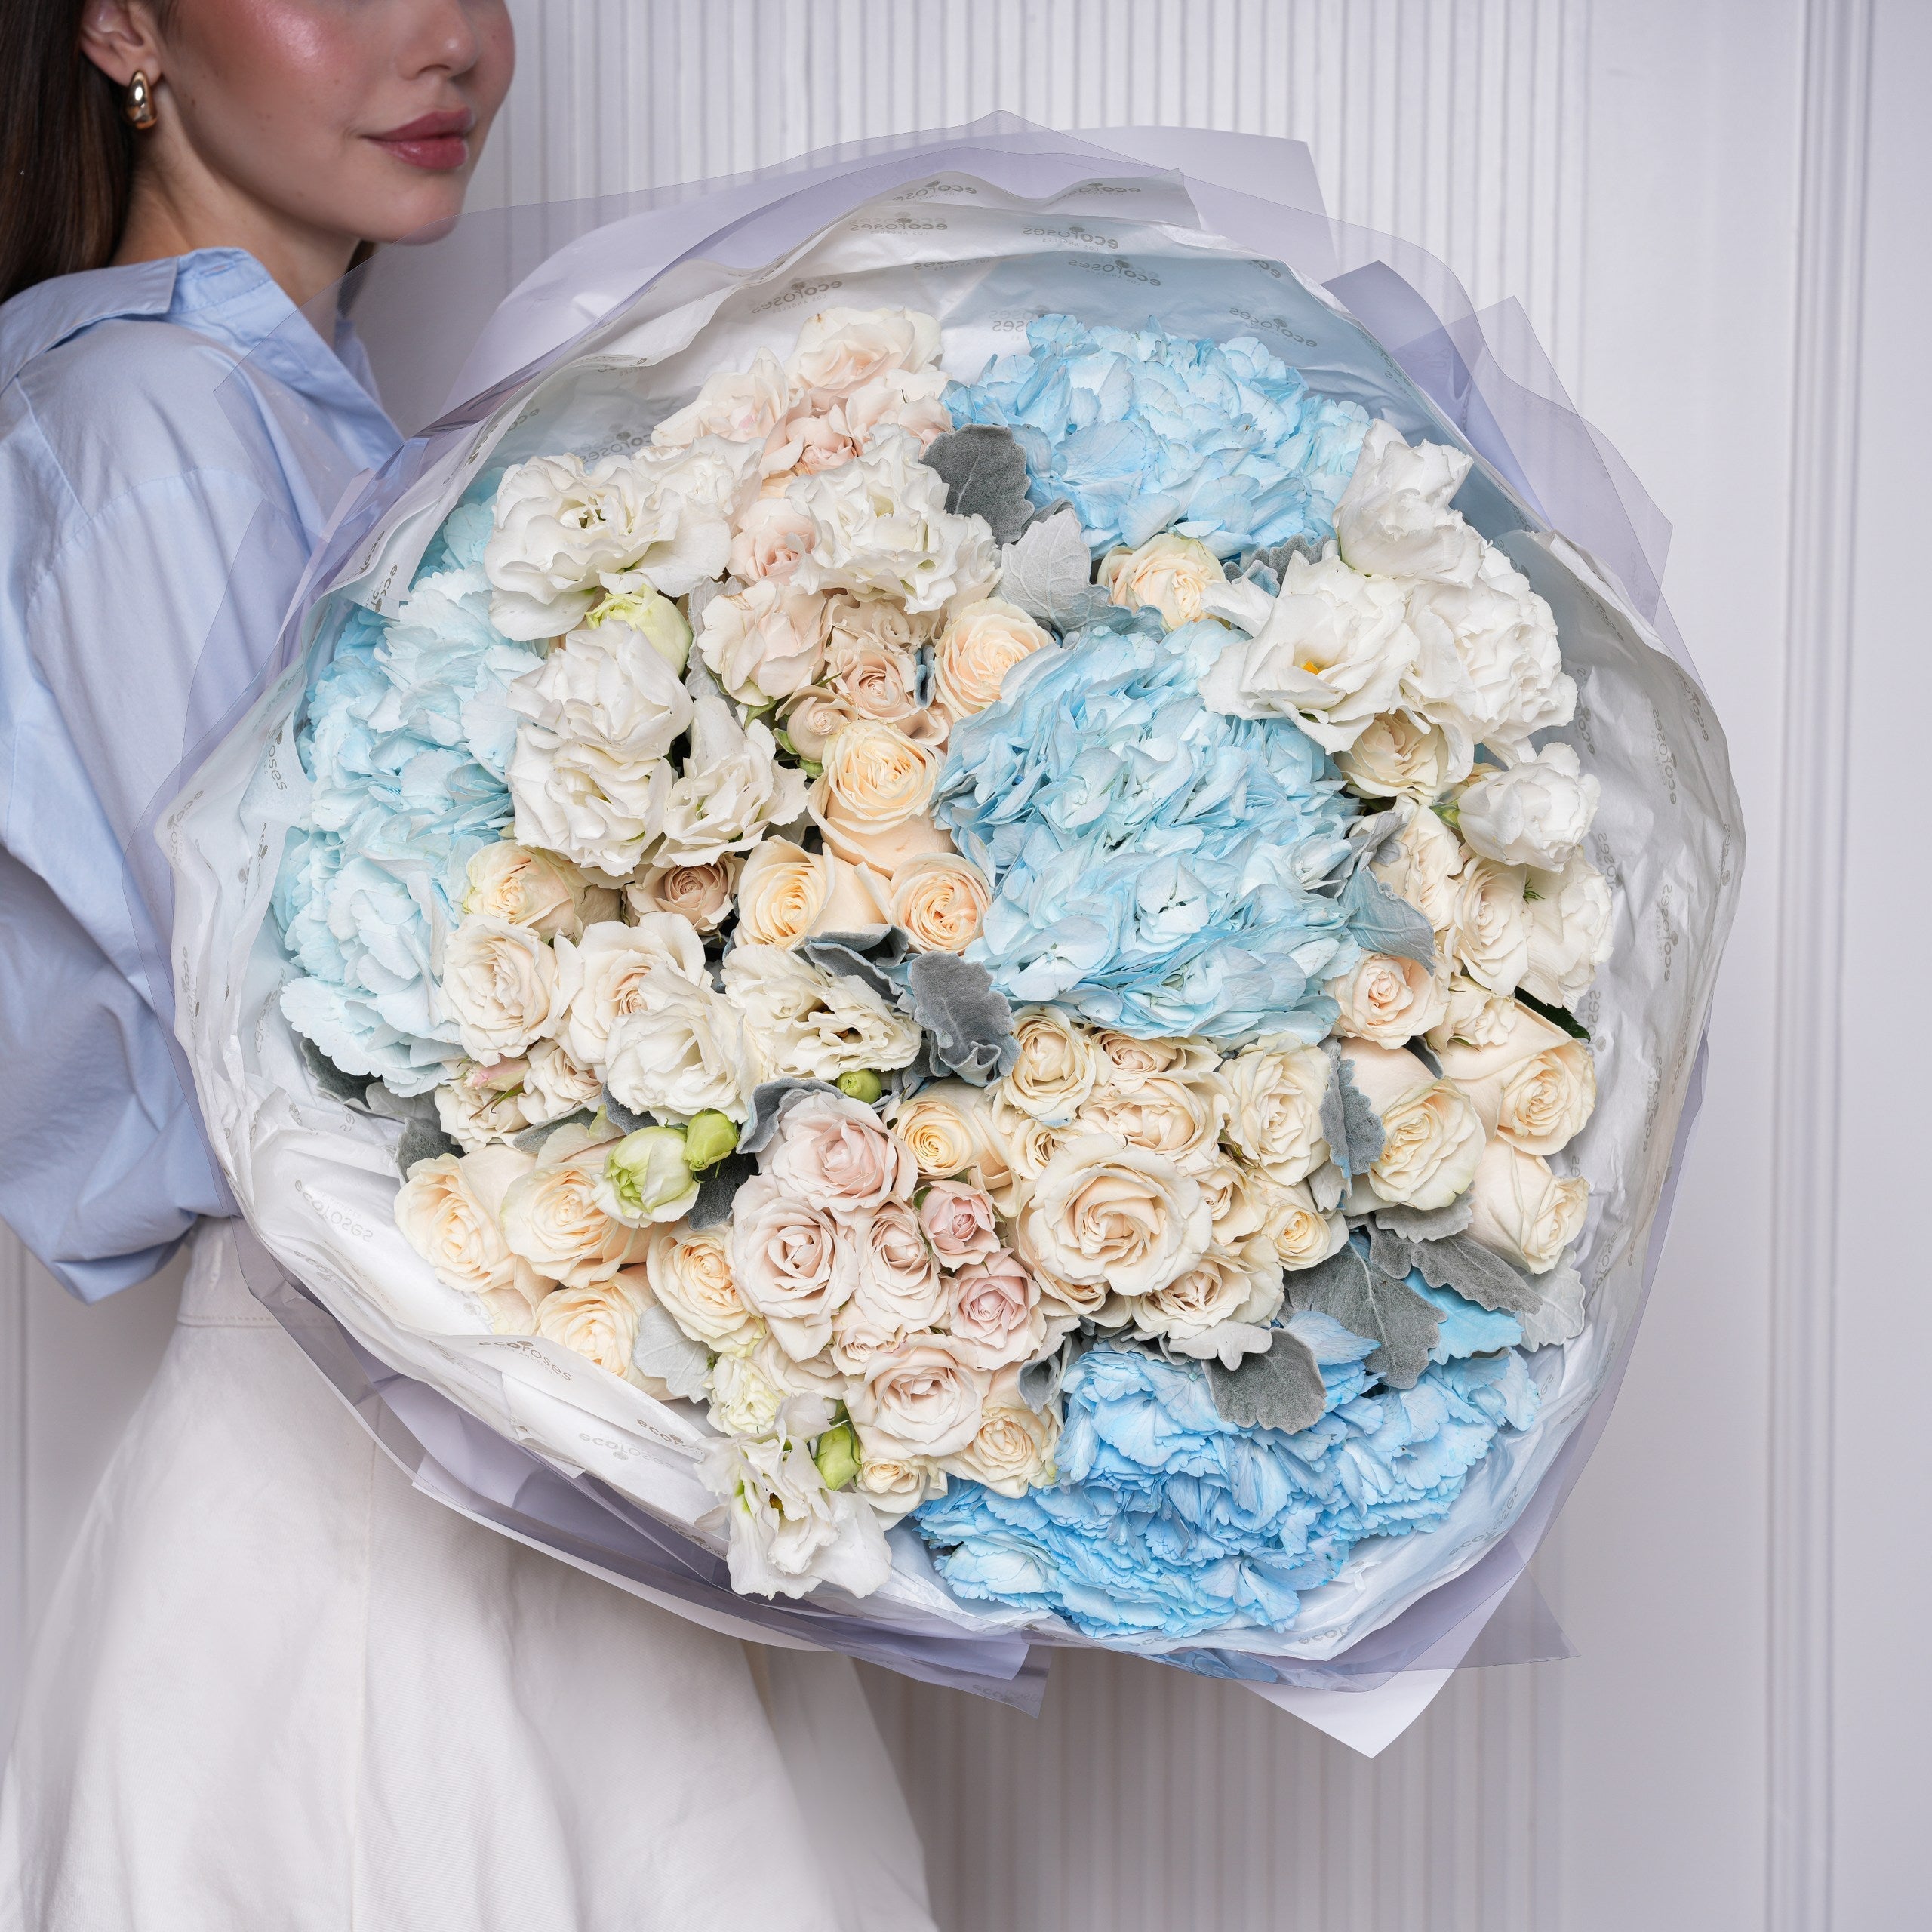
Whether you’re making custom stationery, greeting cards, or wedding invitations, flower-embedded paper adds a unique, artistic touch. For those who don’t have access to their own garden, you can easily purchase vibrant seasonal blooms from this curated flower shop to use in your project.
Let’s dive into the process, materials, creative variations, and inspiration to help you create floral paper that's as beautiful as the petals it holds.
🌼 Why Make Handmade Paper With Flowers?
1. Sustainability with Style
Handmade paper allows you to repurpose old notebooks, envelopes, and junk mail, keeping them out of the landfill. Adding flowers not only makes your creation visually stunning but also gives those petals a second life.
2. Personalized Art
From rose petals to lavender buds, each flower adds its own texture and color. Whether soft and romantic or wild and rustic, floral paper can match your aesthetic.
3. Perfect for Gifting
Imagine writing a heartfelt letter on paper embedded with petals from a bouquet you received-or crafting place cards for a wedding using flowers from the couple’s garden.
✂️ Materials You’ll Need
Here’s a beginner-friendly list of materials to start your handmade paper journey:
|
Tool |
Purpose |
|
Old paper scraps |
Your base pulp |
|
Blender |
To turn paper into pulp |
|
Water |
To soak and blend the paper |
|
Deckle & mould |
Frame to shape your paper |
|
Flower petals (dried/fresh) |
Decoration and texture |
|
Sponge or towel |
To absorb water |
|
Rolling pin |
To flatten and dry the sheets evenly |
|
Drying surface (felt/towels) |
Where your paper will dry flat |
🌸 Best Flowers to Use
Not all blooms behave the same way in paper. Here are top choices based on color retention, texture, and shape:
|
Flower |
Notes |
|
Rose petals |
Soft, fragrant, and beautiful in pinks and reds |
|
Marigolds |
Bright orange/yellow that dries beautifully |
|
Lavender buds |
Adds fragrance and rustic look |
|
Daisies |
Whole heads can be pressed into the paper |
|
Pansies |
Hold shape well, especially when pressed |
|
Chamomile |
Great for fine texture and calming scent |
|
Bougainvillea |
Vibrant and colorfast |
📝 Step-by-Step Guide: How to Make Floral Paper
Step 1: Soak the Paper
-
Tear recycled paper into small pieces and soak in warm water for at least 2 hours (overnight is better).
-
The more uniform the pieces, the smoother your final product.
Step 2: Blend It Into Pulp
-
Place soaked paper and a cup of water in a blender.
-
Pulse until the mixture becomes a thick, cloudy pulp.
-
Add more water as needed for a thinner texture.
Step 3: Add Flower Petals
-
Stir in dried or fresh petals by hand, not in the blender, to maintain their shape and color.
-
Use as little or as much as you like depending on how bold you want the final look.
Step 4: Pour into Mould & Deckle
-
Submerge your deckle into a tub of water.
-
Pour pulp over it evenly.
-
Shake gently to distribute the pulp and flowers.
Step 5: Drain & Press
-
Lift the mould out of the water, letting excess water drain.
-
Place the mould face down on felt or a towel.
-
Use a sponge to press out extra water from the back of the screen.
Step 6: Drying the Paper
-
Remove the frame and let the sheet dry on a flat surface.
-
Drying time may vary from 12 to 48 hours depending on humidity.
-
Use a rolling pin to flatten or press under heavy books.
Step 7: Trim and Use!
Once completely dry, gently peel off the sheet and cut as desired. Your floral paper is now ready to be used in endless creative ways!
🌷 Creative Ways to Use Flower-Embedded Paper
|
Project |
Idea |
|
Handmade Cards |
Thank-you notes, sympathy cards, birthday wishes |
|
Wedding Invitations |
Pair with calligraphy or wax seals for a romantic touch |
|
Journals & Scrapbooks |
Add floral paper as a decorative insert |
|
Gift Tags |
Tie onto gifts with twine or ribbon |
|
Frame It! |
Display your favorite sheet as a mini art print |
|
Origami & Paper Crafts |
Make floral origami cranes or gift boxes |
|
Business Cards |
Eco-conscious and unique branding piece |
🌼 Tips for Better Results
-
Use a neutral-colored paper base for better flower visibility.
-
Don’t over-blend-a little texture adds character.
-
Add essential oils like rose or lavender for added scent.
-
Experiment with natural dyes (turmeric, beet, blueberry) for tinted backgrounds.
-
Try layering petals in the pulp and on top after shaping for a 3D effect.
🌺 Paper That Plants? Try Seed-Embedded Paper
Take things one step further by mixing wildflower seeds into your pulp. This creates plantable paper-perfect for eco-friendly cards and promotional materials.
Instructions:
-
Add seeds after blending, just before pouring into the mould.
-
Use small, flat seeds (e.g., poppies, zinnias, chamomile).
-
Include planting instructions if gifting.
🌻 Where to Source Flowers for Handmade Paper
If your garden isn’t currently in bloom, don’t worry. You can get a wide selection of vibrant, fresh flowers from Ecoroses LA’s shop, ideal for crafting and DIY projects. Choose from roses, peonies, ranunculus, and other seasonal favorites to create paper that’s bursting with color and character.
🌿 Final Thoughts
Turning garden flowers into handmade paper is more than a weekend DIY-it’s a creative ritual, a chance to reconnect with nature and infuse your art with meaning. Whether you want to create sustainable gifts, personal stationery, or simply preserve the beauty of a special bouquet, floral paper is a timeless, tactile way to express yourself.
Start saving your petals, grab a blender, and begin a new chapter of creativity-one beautiful, flower-filled sheet at a time.


